Tesla Brake Pad Replacement: Fitment, EPB and Service Guide
Tesla brake pad replacement depends on the vehicle generation, axle and installed brake package. A Model 3, Model Y or Performance badge alone does not identify the procedure. This guide helps you select the right instructions and prepare the job; it is not an all-model removal sequence.
Find the Correct Tesla Brake Procedure
Record the model, production date, VIN, front or rear axle, and any brake upgrades. Compare the installed parts with the procedure illustrations before ordering pads. The links below are specific examples, not a compatibility list for every Tesla.
| Vehicle and brake configuration | Official Tesla procedure |
|---|---|
| 2017–2023 Model 3, front sport brakes | Front sport brake pad replacement |
| 2017–2023 Model 3, rear base brakes | Rear base brake pad replacement |
| 2020–2024 Model Y, front brakes | Front brake pad replacement |
| 2025+ Model Y, front Dual Motor procedure | Front Dual Motor brake pad replacement |
| 2012–2020 Model S, front brakes | Front brake pad replacement |
For another configuration, open Tesla Service, select the matching vehicle manual, and find the brake pad procedure for that axle and brake package. Read its linked procedures too. These sources were checked on September 5, 2026; use the current version when carrying out the repair.
Do the Pads Actually Need Replacing?
There is no dependable all-Tesla replacement mileage. Regenerative braking reduces friction-brake use, but pad condition, corrosion and the vehicle's operating conditions still matter. A squeak alone does not establish that the pads are worn out.
Ask the inspecting repairer to record the remaining friction material on the inner and outer pads, rotor condition, and whether the pads move correctly in their mounts. Compare measurements with the limits in the applicable Tesla brake specification. A view through one wheel opening does not establish the condition of every pad.
Tesla's Model 3 maintenance guidance calls for caliper cleaning and lubrication annually or every 12,500 miles / 20,000 km in areas using winter road salt. That is a maintenance recommendation, not a pad replacement interval. It also specifies a brake-fluid health check every four years, with replacement if needed and potentially more frequent checks under demanding use. Check your own vehicle's schedule. Tesla Model 3 maintenance guidance.
Why a Universal Caliper or Torque Table Is Misleading
Do not assume every Model 3/Y front caliper is a sliding single-piston design, or that fixed-caliper pads can always be changed without making room for the new friction material. Tesla's 2017–2023 Model 3 front sport procedure uses a caliper spreader and requires removal of the caliper-to-knuckle bolts. It also specifies replacement of those bolts. Tesla front sport procedure.
A torque value belongs to a particular fastener in a particular procedure. Caliper-to-knuckle bolts, caliper-to-bracket bolts and wheel fasteners are different connections. Do not transfer their settings or replacement requirements between models. This page therefore does not supply a universal torque number or bolt part number.
Before disassembly, make a job sheet with the applicable procedure's fastener descriptions, torque settings and reuse/replace instructions. Confirm the replacement hardware against the VIN and installed brake package. If the removed hardware does not match the manual, resolve that discrepancy before continuing.
Rear Pads and the Electronic Parking Brake
For the 2017–2023 Model 3 rear base brake procedure, Tesla requires EPB Service Mode before caliper removal and then specifies a caliper spreader to push the piston back. The procedure separately describes piston-slot orientation during installation. This does not support a general instruction to force every Tesla rear piston inward by winding it clockwise. Tesla rear base procedure.
Follow the matched procedure for securing the vehicle, releasing the EPB and restoring it after assembly. Releasing a parking brake changes what is holding the vehicle stationary. If the service routine fails or the hardware does not respond as described, stop and diagnose the fault; additional force is not a substitute for successful release. Do not apply generic battery-percentage thresholds, waiting times or motor-resistance diagnoses to an unidentified caliper.
Parts and Equipment: Confirm Before Buying
Build the shopping list from the selected procedure, rather than a generic “fits Tesla” product listing:
- Pads verified for the VIN, axle and actual brake hardware, including any required shims, springs or clips.
- Replacement fasteners wherever the procedure specifies them.
- The stated caliper tool and a suitable caliper support.
- Lifting and support equipment appropriate to the vehicle and the official lifting procedure.
- Torque tools covering the actual specified settings.
- Only the cleaning products and lubricants called for in that procedure.
Grease instructions can change with hardware. The 2020–2024 Model Y front procedure specifies lubrication at pad side edges and prohibits it on the pad backs. The 2025+ Model Y Dual Motor front procedure includes a May 2026 revision removing the brake-grease instruction. A generic recommendation to grease all pad backs would therefore be wrong. Earlier Model Y front procedure, 2025+ Dual Motor procedure.
Keep lubricant and other contaminants off friction surfaces. Do not substitute a general-purpose silicone compound solely because a seller calls it brake grease.
Checks Before the Vehicle Returns to Use
Complete the installation and testing section of the matched manual. In particular, the Model 3 rear base procedure includes parking-brake restoration, seating the pads until the pedal feels firm, a fluid-level check, and a road test with brake burnishing. Do not drive away with an abnormal pedal. Tesla rear base completion steps.
Use the burnishing instructions linked from the applicable service procedure, with any relevant pad-manufacturer requirements resolved before use. A generic series of high-speed stops is not a substitute. Testing requires a safe location and a vehicle whose assembly and basic brake function have already been checked.
How to Compare Repair Quotes
Ask for an itemized quote showing the axle, pad manufacturer and part number, replacement hardware, rotor work if required, labour and taxes. Clarify whether inspection, caliper servicing and the final brake checks are included. Compare quotes for the same scope; a pads-only price cannot be compared directly with pads, rotors and seized-caliper repairs.
This page does not promise a fixed saving or universal parts price. The installed brake package and condition of the existing components determine the job.
Frequently Asked Questions
Can I replace the pads myself?
Only if you can identify the exact brake configuration and complete the official procedure with the necessary equipment and competence. This overview helps plan the work; it does not replace the service manual or hands-on brake repair experience.
Are all Tesla caliper bolts single-use?
No blanket rule applies. Use each fastener's reuse/replace entry in the matched manual. For example, the Model 3 front sport procedure requires new caliper-to-knuckle bolts, while the rear base procedure marks its caliper-to-bracket bolts reusable. Front sport fasteners, rear base fasteners.
Does pad replacement automatically mean a brake-fluid flush?
Do not assume that from the pad change alone. Follow the fluid condition assessment and service schedule for your vehicle. The Model 3 guidance cited above calls for a four-year health check and replacement if necessary, rather than a universal two-year flush. Fluid specifications also need to come from the matched manual, not an all-model DOT claim.
Can I choose pads from the car's trim badge alone?
Use the VIN and installed brake hardware as well. Production changes and previous modifications can make a generic model-name listing insufficient. Have the supplier confirm the precise application before purchase.
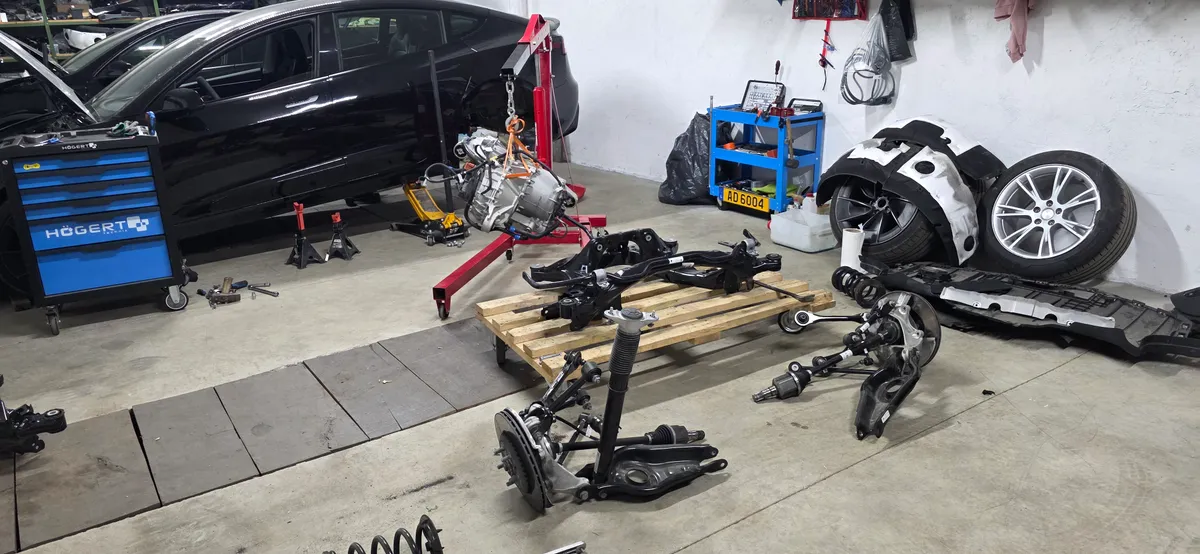
🛠️ Tools Needed for This Repair
These are the tools I personally use and recommend. Using quality tools makes the job easier and safer.
-
Basic Mechanic Tool Set
We earn commissions from qualifying purchases through our affiliate partners. This helps support the site at no extra cost to you.